
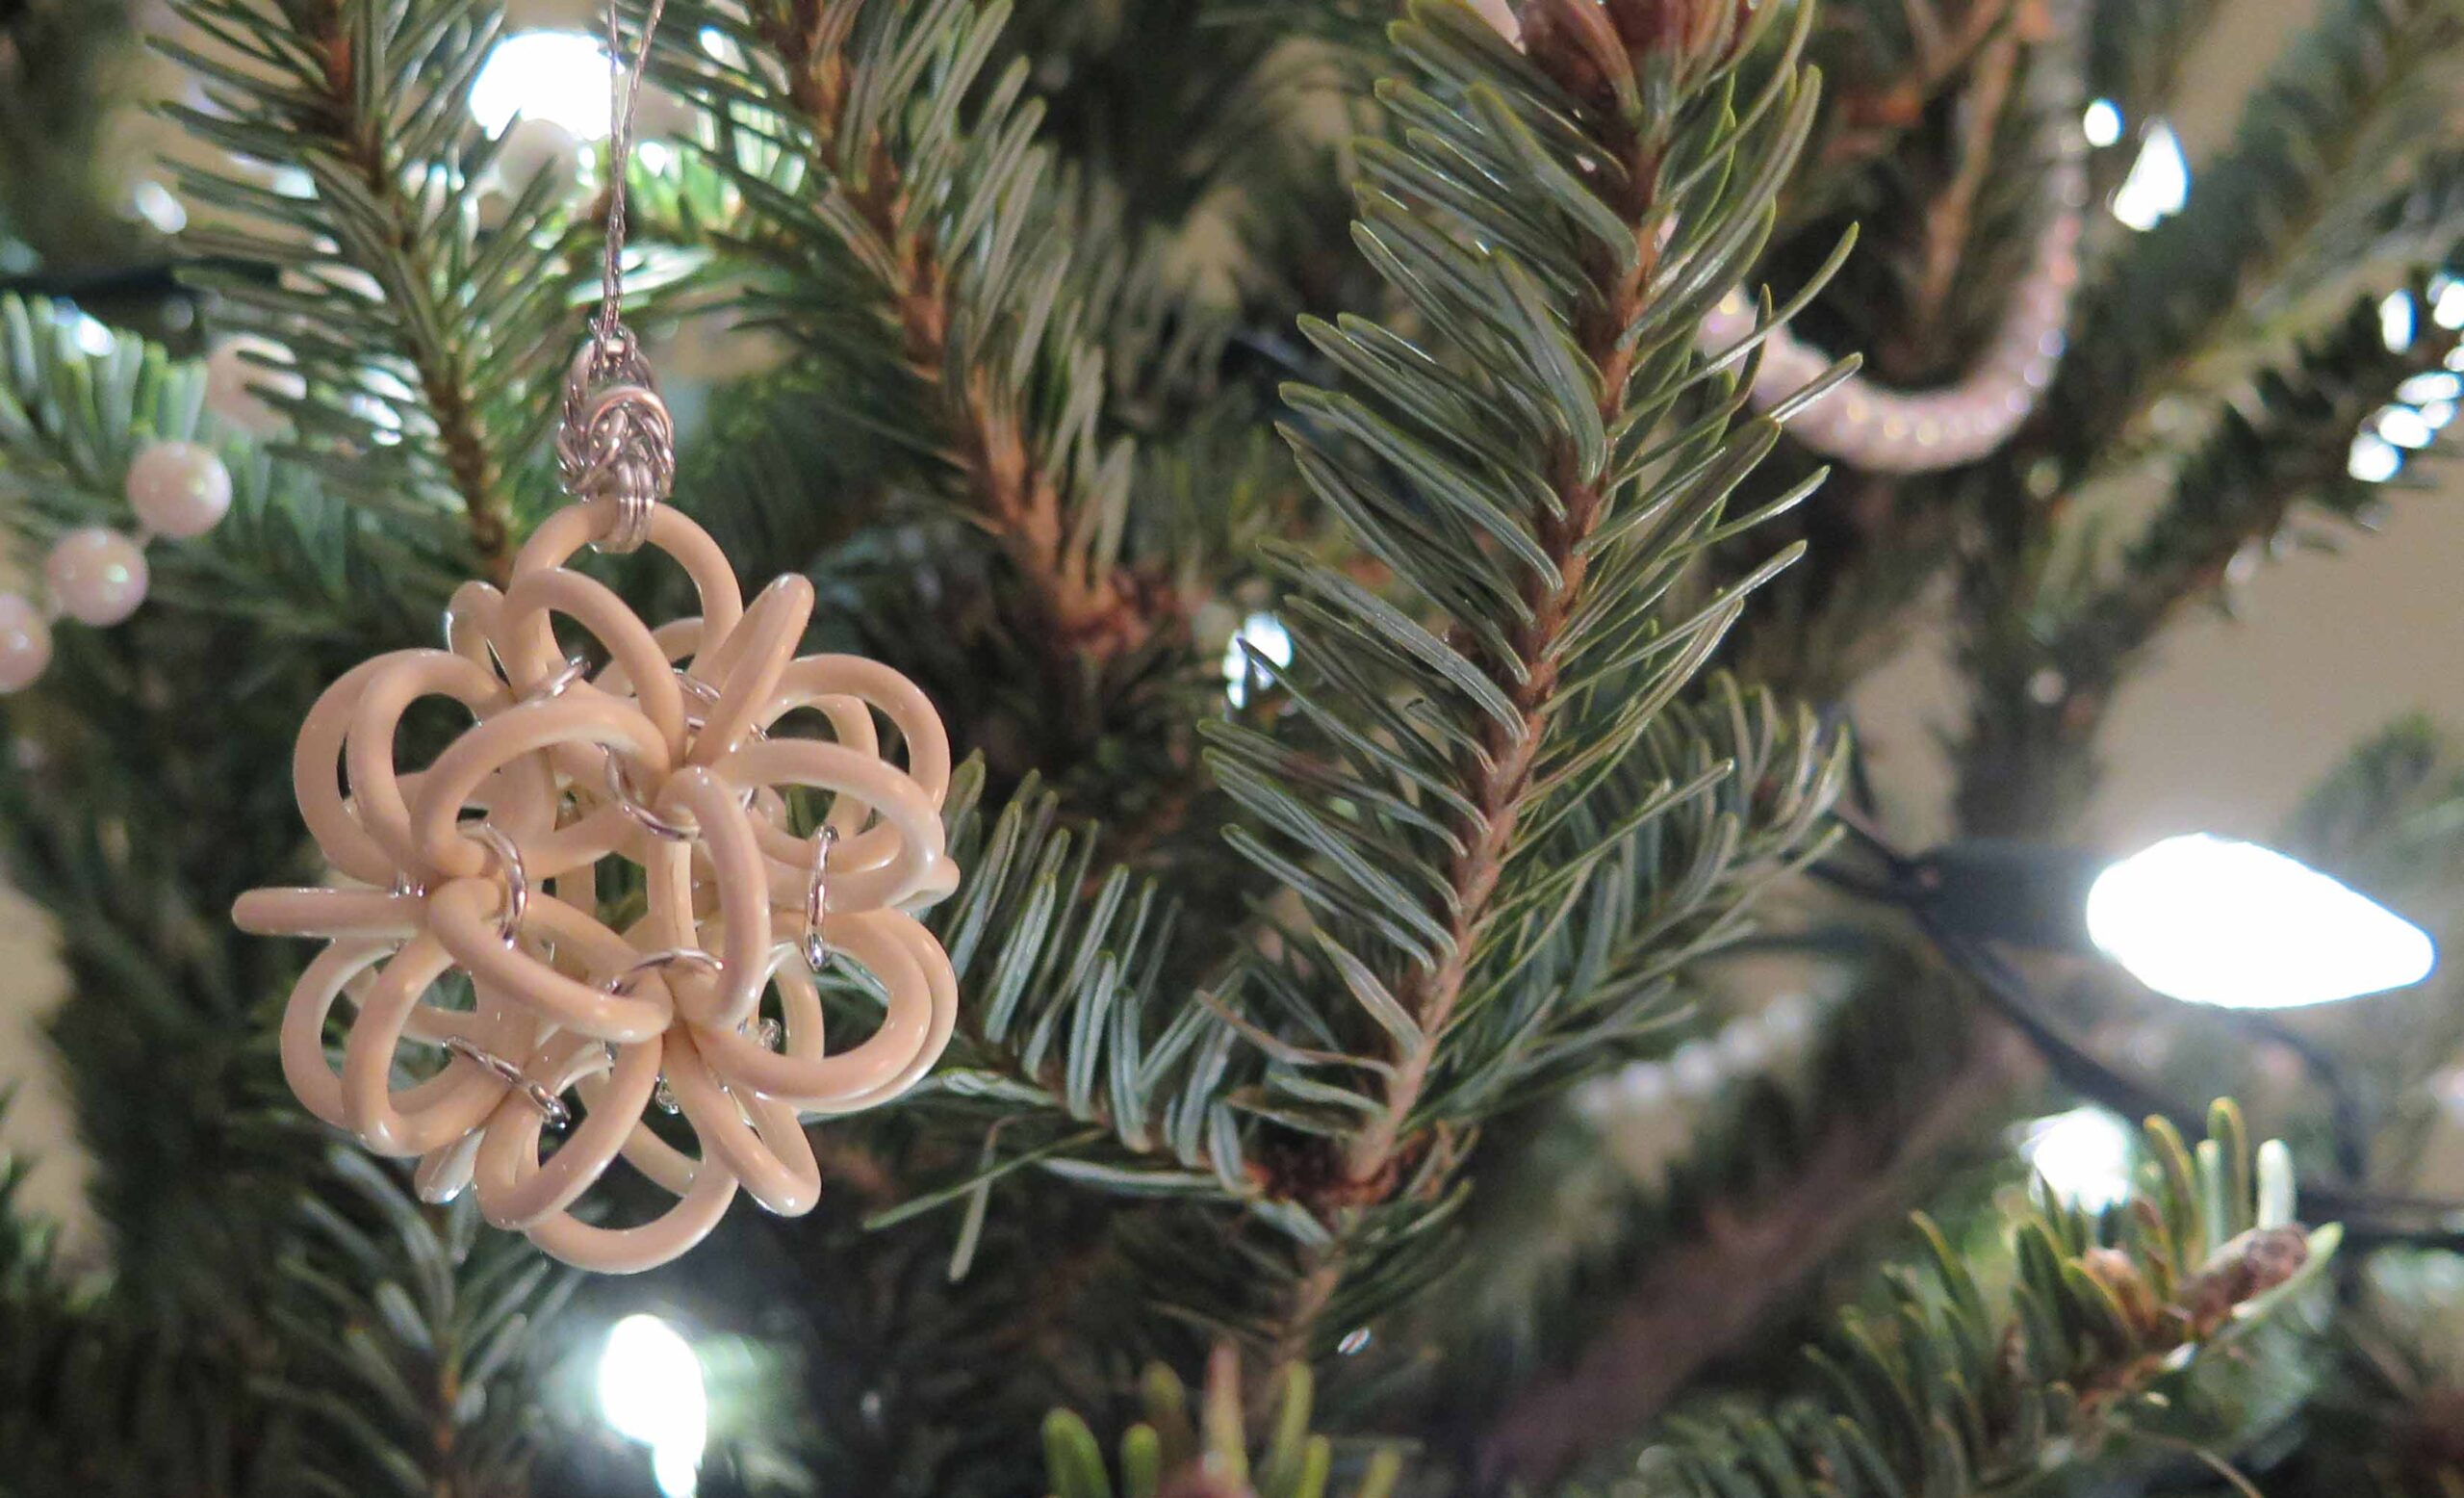
Snowball Ornament
I had a few requests for instructions for this “Snowball” Christmas Ornament, so here they are.
Happy Weaving!
Karen
Supplies:
- 30 rubber rings: white, 15mmOD, 10mmID, 2.5mm WD
- 12 Bright Aluminum (BA) jump rings: 18swg, ¼” id
Instructions:
Instead of photos, I have included color-coded diagrams. The diagrams look a little strange because they are flat representations of a 3-dimensional object. Each line represents a rubber ring. Each circle represents an aluminum ring.
NOTE: Each aluminum ring should have 5 rubber rings passing through it.

Step1: Start by threading 5 rubber rings onto 1 open aluminum jump ring. Close the open jump ring. Arrange rubber rings to look like Diagram 1 above (five arms, red).
TIP: Use a small piece of painter’s tape (or wire, string, rubber band…) to mark arm #1. This will help you to orient the piece as you weave. Remove marker when Snowball is complete.

Step2: Weave 1 open aluminum jump ring through arm #1. Thread 4 more rubber rings (yellow) onto the aluminum jump ring and close it. (Diagram 2)
Now, work your way around clockwise.

Step 3: Weave 1 open aluminum jump ring through arm #2 and the closest ring of the 4 rubber rings added in step 2 (yellow). Thread 3 more rubber rings (orange) onto the aluminum jump ring and close it. (Diagram 3)

Step 4: Weave 1 open aluminum jump ring through arm #3 and the closest of the 3 rubber rings added in step 3 (orange). Thread 3 more rubber rings (green) onto the aluminum jump ring and close it. (Diagram 4)

Step 5: Weave 1 open aluminum jump ring through arm #4 and the closest of the 3 rubber rings added in step 4 (green). Thread 3 more rubber rings (lt. blue) onto the aluminum jump ring and close it. (Diagram 5)

Step 6: Weave 1 open aluminum jump ring through arm #5 and the closest of the 3 rubber rings added in step 5 (lt. blue) and the closest of the 4 rubber rings added in step 2 (yellow). Thread 2 more rubber rings (dk. blue) onto the aluminum jump ring and close it. (Diagram 6, left)
Now there are 2 free-moving rubber rings at the end of each arm (red dots, Diagram 6, right).
Continue working in a clockwise direction.

Step 7: Weave 1 open aluminum jump ring through the right free-moving rubber ring (yellow) at the end of the arm #1 and the closest free-moving rubber ring (orange) at the end of arm #2 (red dots). Thread 3 more rubber rings (purple) onto the aluminum jump ring and close it. (Diagram 7)

Step 8: Weave 1 open aluminum jump ring through the closest rubber ring (purple) added in step 7, the remaining free-moving rubber ring (orange) at the end of arm #2 and the closest free-moving rubber ring (green) at the end of arm #3 (red dots). Thread 2 more rubber rings (pink) onto the aluminum jump ring and close it. (Diagram 8)

Step 9: Weave 1 open aluminum jump ring through the closest rubber ring (pink) added in step 8, the remaining free-moving rubber ring (green) at the end of arm #3 and the closest free-moving rubber ring (lt. blue) at the end of arm #4 (red dots). Thread 2 more rubber rings (brown) onto the aluminum jump ring and close it. (Diagram 9)

Step 10: Weave 1 open aluminum jump ring through the closest rubber ring (brown) added in step 9, the remaining free-moving rubber ring (lt. blue) at the end of arm #4 and the closest free-moving rubber ring (dk. blue) at the end of arm #5 (red dots). Thread 2 more rubber rings (gray) onto the aluminum jump ring and close it. (Diagram 10)

Step 11: Weave 1 open aluminum jump ring through the closest rubber ring (gray) added in step 10, the remaining free-moving rubber ring (dk. blue) at the end of arm #5, the remaining free-moving rubber ring (yellow) at the end of arm #1 and the closest of the 3 rubber rings (purple) added in step 7 (red dots). Thread 1 more rubber ring (black) onto the aluminum jump ring and close it. (Diagram 11)
Now there are 5 free-moving rubber rings (black, purple, pink, brown, gray – Diagram 11) at the top of the piece.

Step 12: Weave 1 open aluminum jump ring through the final 5 free-moving rubber rings and close it. Snowball complete! 😊
If you would like to download a PDF of this blog post, click here.
Comments are closed.
Marion Vegter
January 4, 2022 at 2:14 amThanks so much for sharing!
Karen Karon
January 4, 2022 at 10:27 amYou’re welcome, Marion! Happy New Year!