
How to Start an Elfsheet Ring
Recently, a reader of Advanced Chain Maille Jewelry Workshop asked me for some clarification on how to start the Elfsheet Ombre Ring. I prepared some additional information to go along with the instructions in the book. I’m sharing it here, hoping other readers may also find it helpful.
1. Start with two 1-by-1 chains, closed end to end.

2. Hold them side by side as shown.

3. Pick a spot to begin. You will need to arrange the rings in the chains to form mountains /\ and valleys \/ as described on page 63. Connect the chains by adding the first jump ring (red) as you would to make Elfweave chain (see illustrations 3 and 4 on page 63 for weaving path).
4. Flip the chains over and add the next jump ring in the pattern (green). See illustrations 7 and 8 on page 64 for weaving path.

5. Continue to add new jump rings (pink, yellow, blue) in Elfweave pattern, flipping the chains over after the addition of each new jump ring.

At this point, your piece should look like this.

6. Repeat as described above, until both 1-by-1 chains are fully connected. Once fully connected, you will have an Elfweave ring. Note: As you continue to add jump rings connecting both1-by-1 chains, the weave will become tighter and it will become a bit more difficult to flip the chains over.

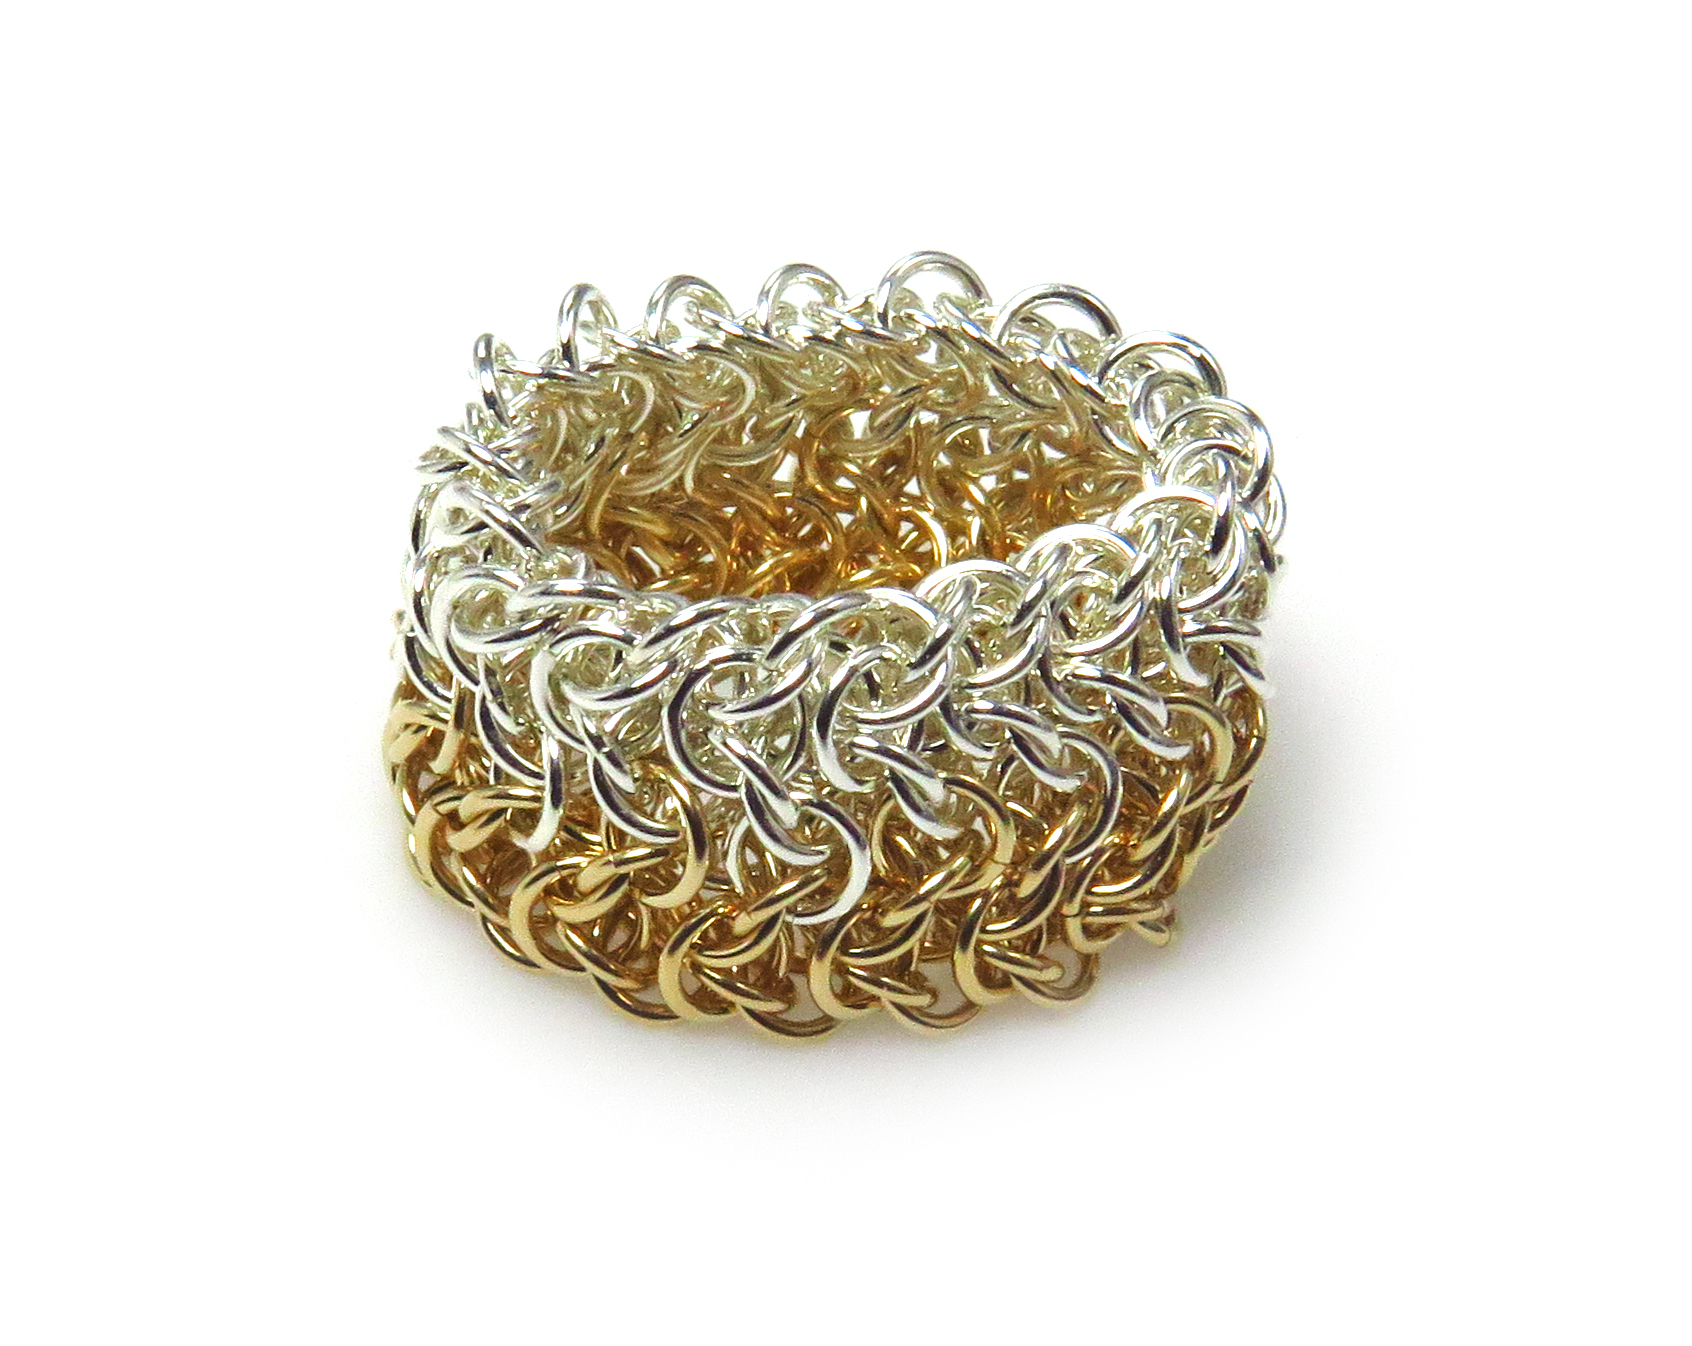
7. Follow Method 3 on page 71 to widen the Elfweave band, completing your Elfsheet ring.
Click here to download these instructions as a PDF.
Comments are closed.
Karen Hethcote
February 1, 2018 at 12:09 pmAwesome. Thanks for sharing your knowledge!
Karen Karon
February 1, 2018 at 12:12 pmYou’re welcome, Karen. Thanks for subscribing!