
Hilt Chain/Quad Hilt Tutorial
Recently, a reader who was trying to learn Hilt/Quad Hilt, asked me if I had a tutorial available. I had to admit that this weave was still on my “To Learn” list. The reader’s inquiry provided the incentive for me to give it a try. Here’s my quick tutorial on the weave. I hope you find it helpful.
Try using jump rings with an AR around 6.5-7.0 (depends on your intended use). The weave is not super flexible, which limits jewelry applications and makes it better suited for sculptural objects. I haven’t experimented with it very much yet. I used 18 SWG, 5/16” id AA jump rings from Metal Designz for this tutorial.
Hilt Chain (by Kendall Silver) is a 6-sided weave. Jump rings are added in rows of 3. There are 3 jump rings at each end, which makes it tricky to start. I made a 3-loop starter from 20g colored craft wire. Here’s what I did.

- Wrap the wire around your fingers 3 times.
- Remove wrap from your hand.
- Twist into a bundle.
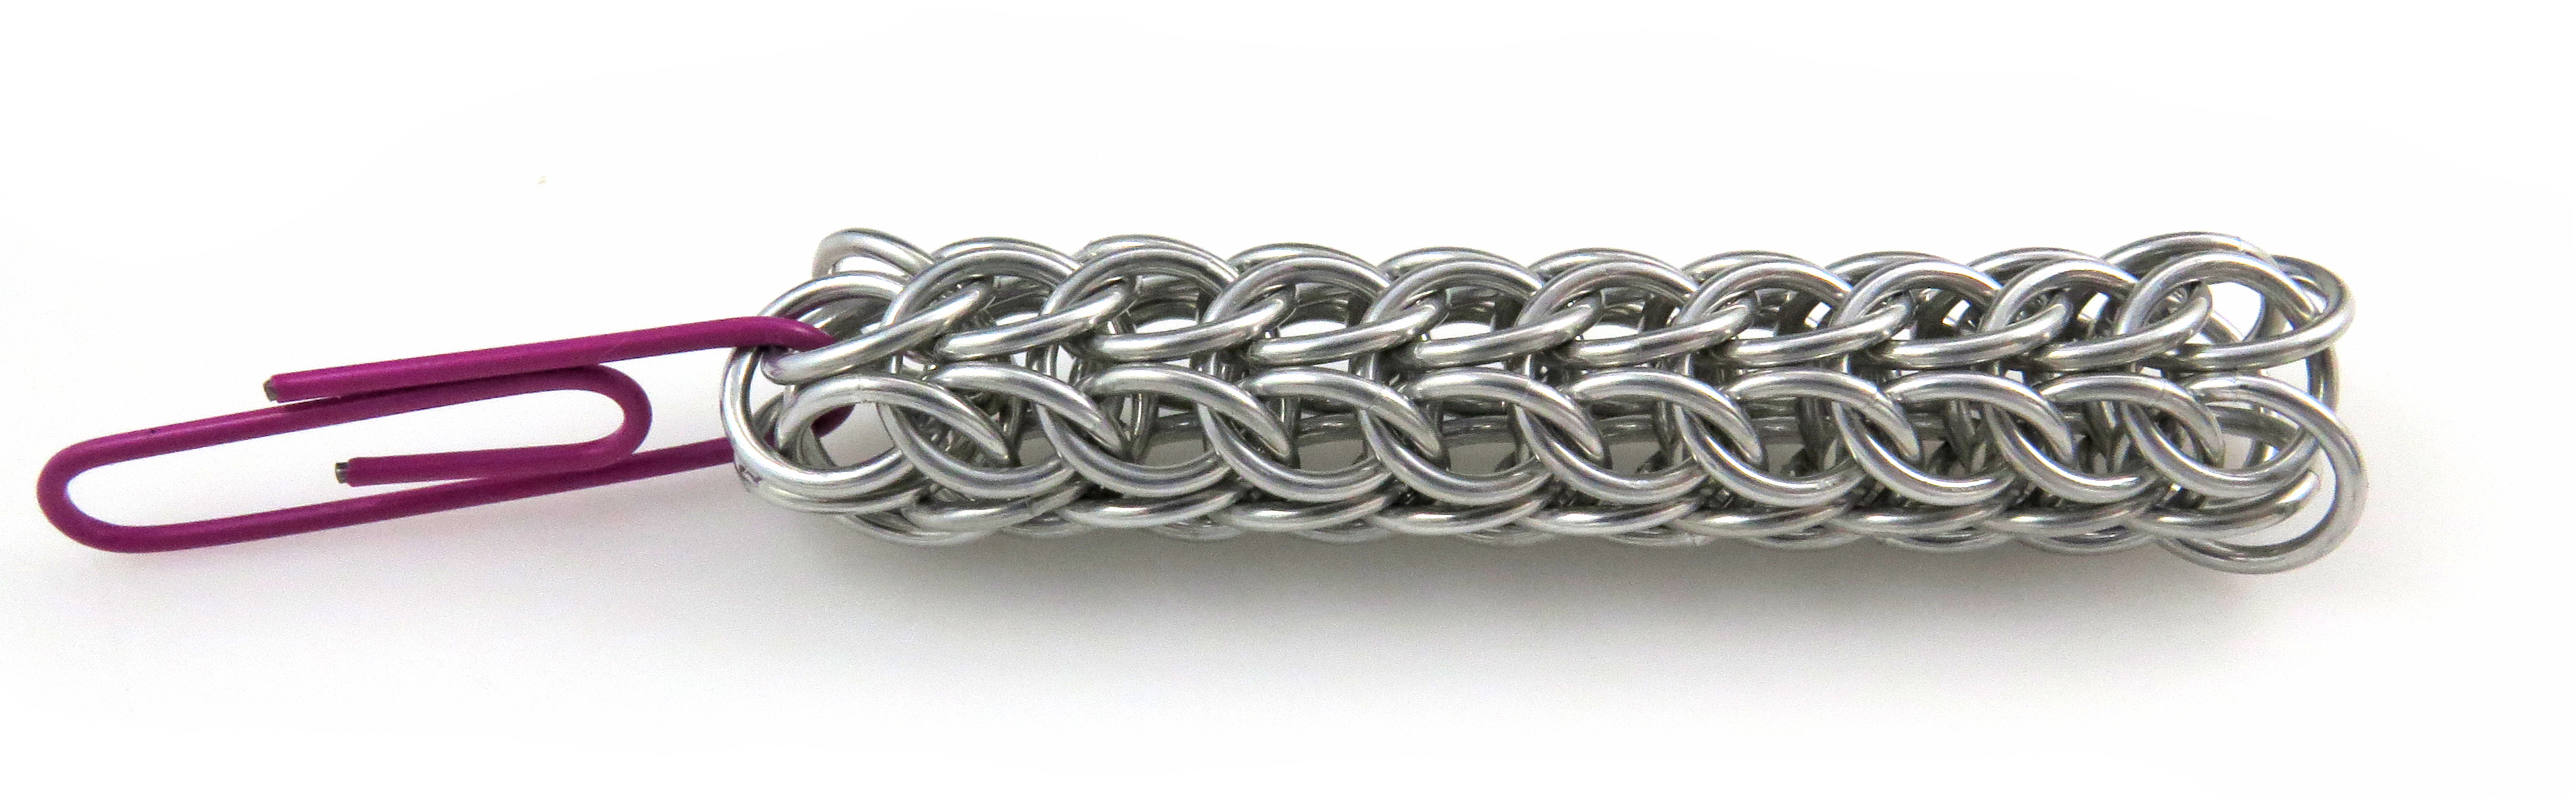
- Shape loops at the end of the bundle in a Y shape, as shown. Starter piece complete.
Start the Weave (the start will be unstable):

- Thread 1 jump ring (silver) on to each loop of the starter. 3 jump rings added.
- Add 3 more jump rings (pink), connecting the 3 silver jump rings – connect #1 to #2, #2 to #3 and #3 to #1 (avoid wire starter).
- Repeat previous step with 3 more jump rings (turquoise). Each silver jump ring now has 4 jump rings passing through it.

- Hang weave upside down to position jump rings.
- Pinch weave and turn it right side up. Arrange the 4 jump rings (pink/turquoise) passing through the silver jump ring, so that the inner 2 jump rings (pink) sit higher than the outer 2 jump rings (turquoise).
- Weave 1 jump ring (orange) through the 4 jump rings (pink/turquoise) that pass through the silver jump ring as shown.
- Repeat above two more times around the chain to complete the row of 3 jump rings (orange). Now the weave should be stable.

Special Note: When weaving on the sides of the chain, make sure to choose the 3 sides that look like the photo above: Vertical jump rings (silver, orange, purple) stack on top of each other from start to end. Horizontal jump rings (turquoise, pink, silver) form a row of nested V’s that point towards the start of the chain. (Jump rings on the other 3 sides are in the opposite orientation.)
Pattern Repeat:

- Thread 1 jump ring (purple) through the top V (pink jump rings) on one side of the chain. This ring should stack above the previous vertical jump ring (orange).
- Repeat previous step two more times around the chain to complete the row of 3 jump rings (purple).

- Pick up chain to view the top of the weave. Spread apart the last 3 jump rings added (purple).
- Weave 1 jump ring (silver) through 4 of the last 6 jump rings added (purple/orange) as shown.
- Repeat previous step twice more around the chain, completing the row of 3 jump rings (silver).

Your weave now looks like the photo above. Repeat the pattern until your chain reaches the desired length.
Quad Hilt:
Quad Hilt is an 8-sided Hilt Chain. Jump rings are added in rows of 4, so there are 4 jump rings at each end of the chain. You will need to use jump rings with a larger AR than those used for Hilt Chain to make Quad Hilt. I didn’t have appropriately sized jump rings on hand. I found an AR recommendation of 8.7 on the M.A.I.L. website. Make a 4-loop starter from craft wire to begin Quad Hilt.

- Wrap the wire around your fingers 4 times.
- Remove wrap from your hand and twist into a bundle.
- Shape loops at the end of the bundle in a cross shape, as shown. Starter piece complete.
Weave as follows:

- Start Quad Hilt in a similar manner to Hilt Chain.
- Weave in the same manner as Hilt Chain, working 4 times around each row instead of 3 times.
Click here to download a PDF copy of this tutorial.
Comments are closed.
Gregory Hurdle
October 6, 2019 at 12:21 pmThank you for taking the time for this great tutorial! And sharing it with everyone. I already have 2 of your books and find them to be easy to follow and fun to learn
Karen Karon
October 6, 2019 at 1:29 pmThank you, Gregory, for the kind words! Happy Weaving!!!
Marion Vegter
October 6, 2019 at 3:40 pmI’m very proud being ‘the reader’ in your blog. I’m going to give this weave a try but overhere it’s the middle of the night so I have to wait until tomorrow. Thank you so much for all your work and thanks for sharing this with us.
Regards, Marion
Karen Karon
October 6, 2019 at 4:27 pmThank you, Marion, for giving me the incentive to try the weave. Happy Weaving!!!